
In continuation with my basic face tools, this week I’d like to talk about the beauty sponge! Let’s all yell in unison…WOOOO!!!!
My current beauty sponge is the Morphe Flawless Beauty Sponge. This sponge retails for $6.99 online. I must give a warning that I’m going to talk about how awesome this sponge is, AND it is currently sold out on the website. The upside is Morphe also carries a black sponge that is called the Premium Beauty Sponge that seems to be similar, just in a different shape.
Beauty sponges are pretty easy to use.
Step 1: Grab your sponge.
Step 2: Hold sponge in your fist and place under your faucet.
Step 3: Squeeze sponge under running water and watch it inflate.
Step 4: Once your sponge has grown large, turn off faucet and give it a few more extra squeezes.
Step 5: Use a paper towel or regular towel to wrap around the sponge and squeeze to get rid of excess water.
You are ready for makeup application!
Dot foundation all over your face, then use the sponge in a dabbing motion to get an even finish (don’t rub). What is great and bad about the sponge (depends on how you view it) is you will never have too much foundation on your face. While you are dabbing product, the sponge will soak up any extra foundation from your face (Some people don’t like their foundation eaten up by the sponge.).
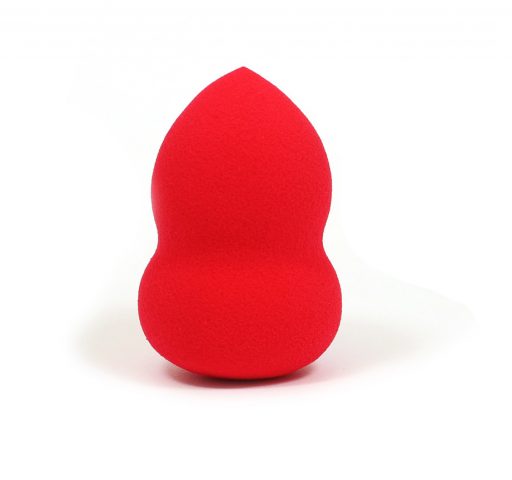
What I love about the Morphe sponge is its density – a thicker sponge helps move the product better. The majority of beauty sponges have one end that is wider, and the other is angled or pointed. The wider end is used for your face or a larger surface area, while the other end can be used to get into smaller areas like the sides of your nose and under your eye.
Beauty sponges can be used for foundation, concealer, and powder application. A great trick is to set your concealer with a setting powder to keep it from moving. If you do this with a beauty sponge it gives a smooth “photoshopped” look, and your makeup will be set for the day! Not to mention this is also great for oily girls, like myself.
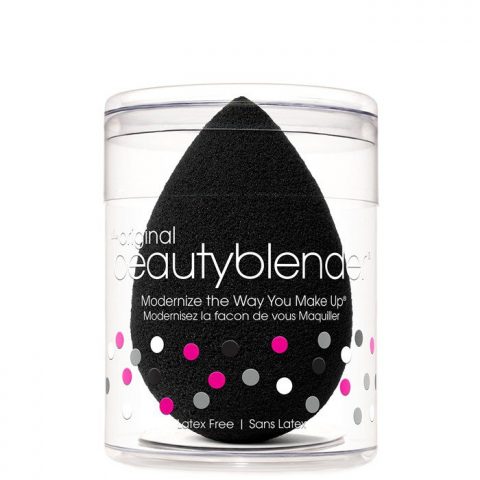
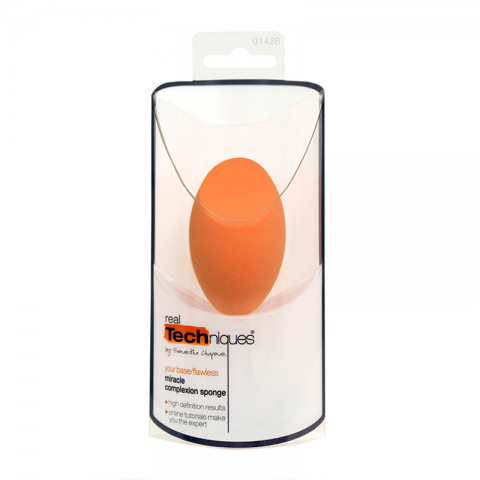
Now, I’ve tried two other beauty sponges that are also great: the Real Techniques Miracle Complexion Sponge, and the Beauty Blender. One is a little pricey, while the other is very affordable.
The Beauty Blender comes in different colors; I recommend the black one, which is the Beauty Blender Pro. I have tried the colorful ones, but I had an issue with the dye washing off – and no one wants red or pink dye bleeding into their foundation.
Remember, you have to make sure to wash your sponge after use because of germs and makeup stains. This is the drawback of this product. Since you have to wet it and wash it afterwards, it is a little time consuming. If you really want to be creeped out, there are videos on YouTube where people have found mold on their sponges. No thanks!
Washing is simple: you can use a bar of soap or your facial cleanser. Just wash until the water runs clean. This process is less than five minutes. After the wash, just let your sponge sit and air dry. If you purchase a Beauty Blender, its packaging doubles as a stand for drying.
Beauty Sponges: Beauty Blender ($20 at Sephora), Real Techniques Miracle Complexion Sponge ($5.99 at Walgreens), and e.l.f. Precision Sponge Trio ($12 from e.l.f.)
Have a product in mind you would like tested or talked about in this column? Please leave a comment below or email me at thebeautybeatdown@gmail.com.


